

Once you've installed the BlogHandy Shopify app and set it up, you want to help your store visitors find your blog. Below you will learn how to add the blog to your header and/or footer menu.
1. In your Shopify Dashboard, go to Online Store and Navigation.

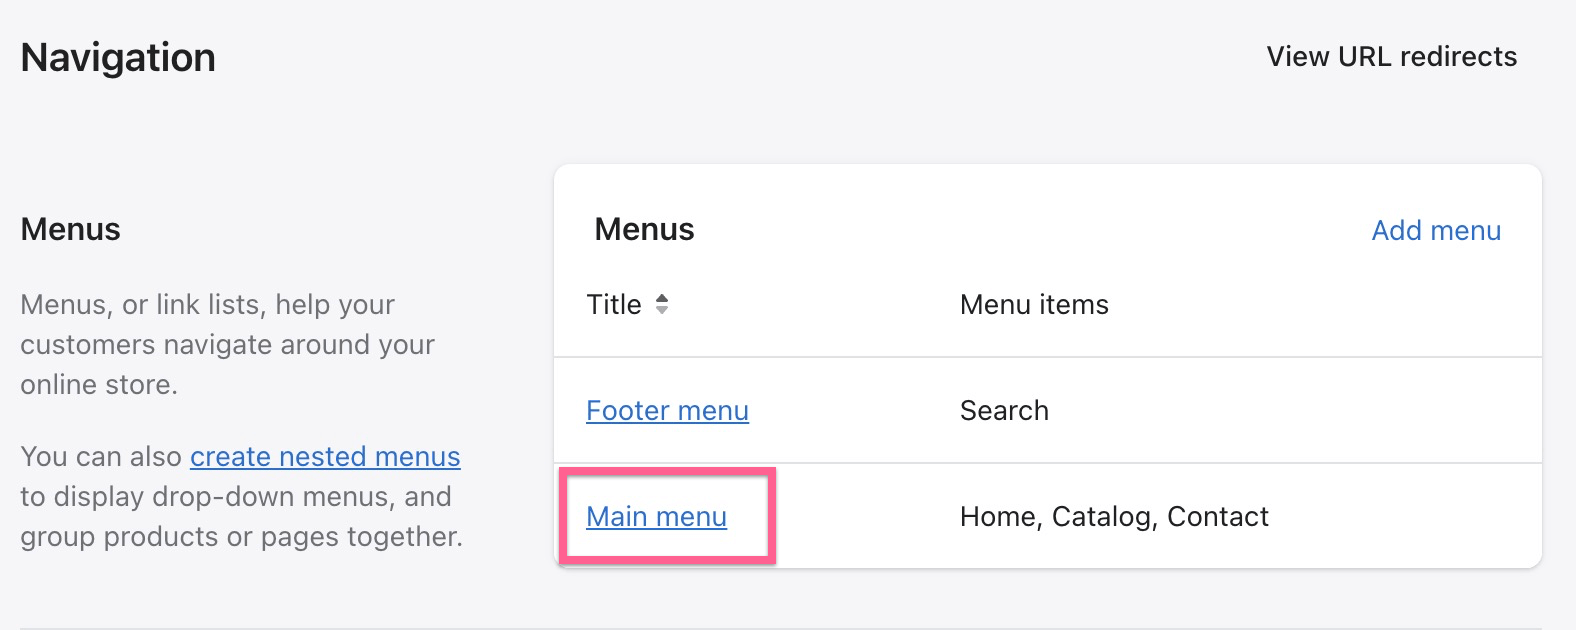
2. On the Navigation page, click either on Main menu or Footer menu, depending on where you want to add your blog link. You can also add the link to both menus, in that case, simply repeat the below steps once for the Main menu and then another time for the Footer menu.
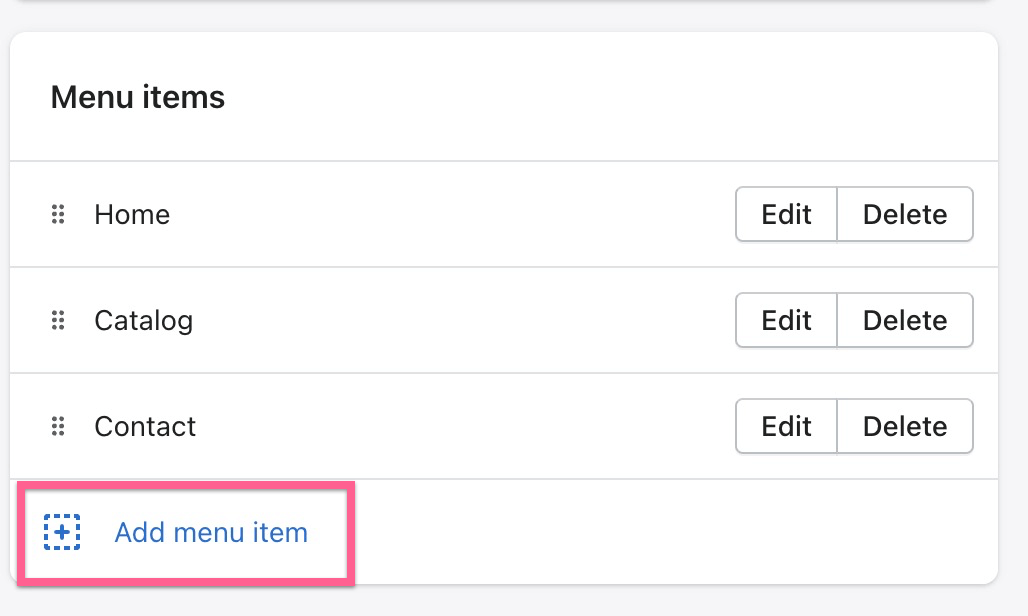
3. On the main/footer menu page, click on Add menu item to add the link to your blog.
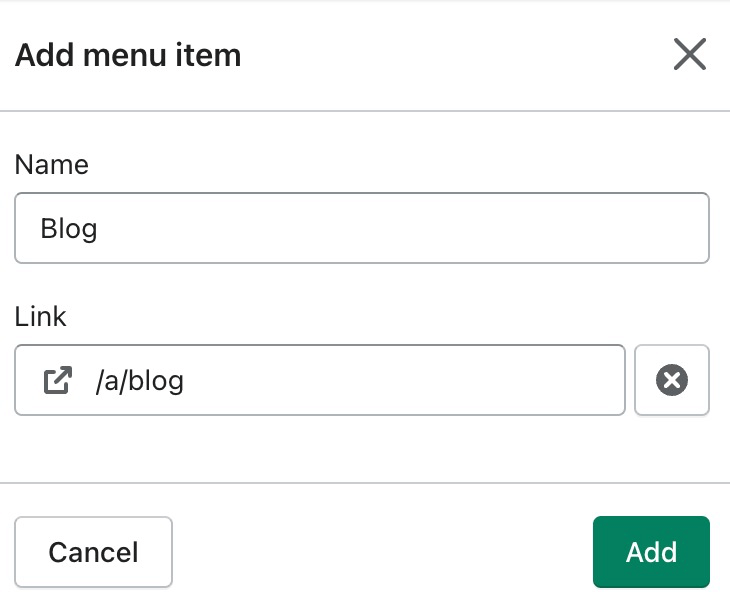
4. A screen will appear on the right. Give a name, such as "Blog", to your new link. Under the Link property, write /a/blog. This is the default location of your blog unless you changed the location using this guide. Then click the Add button.
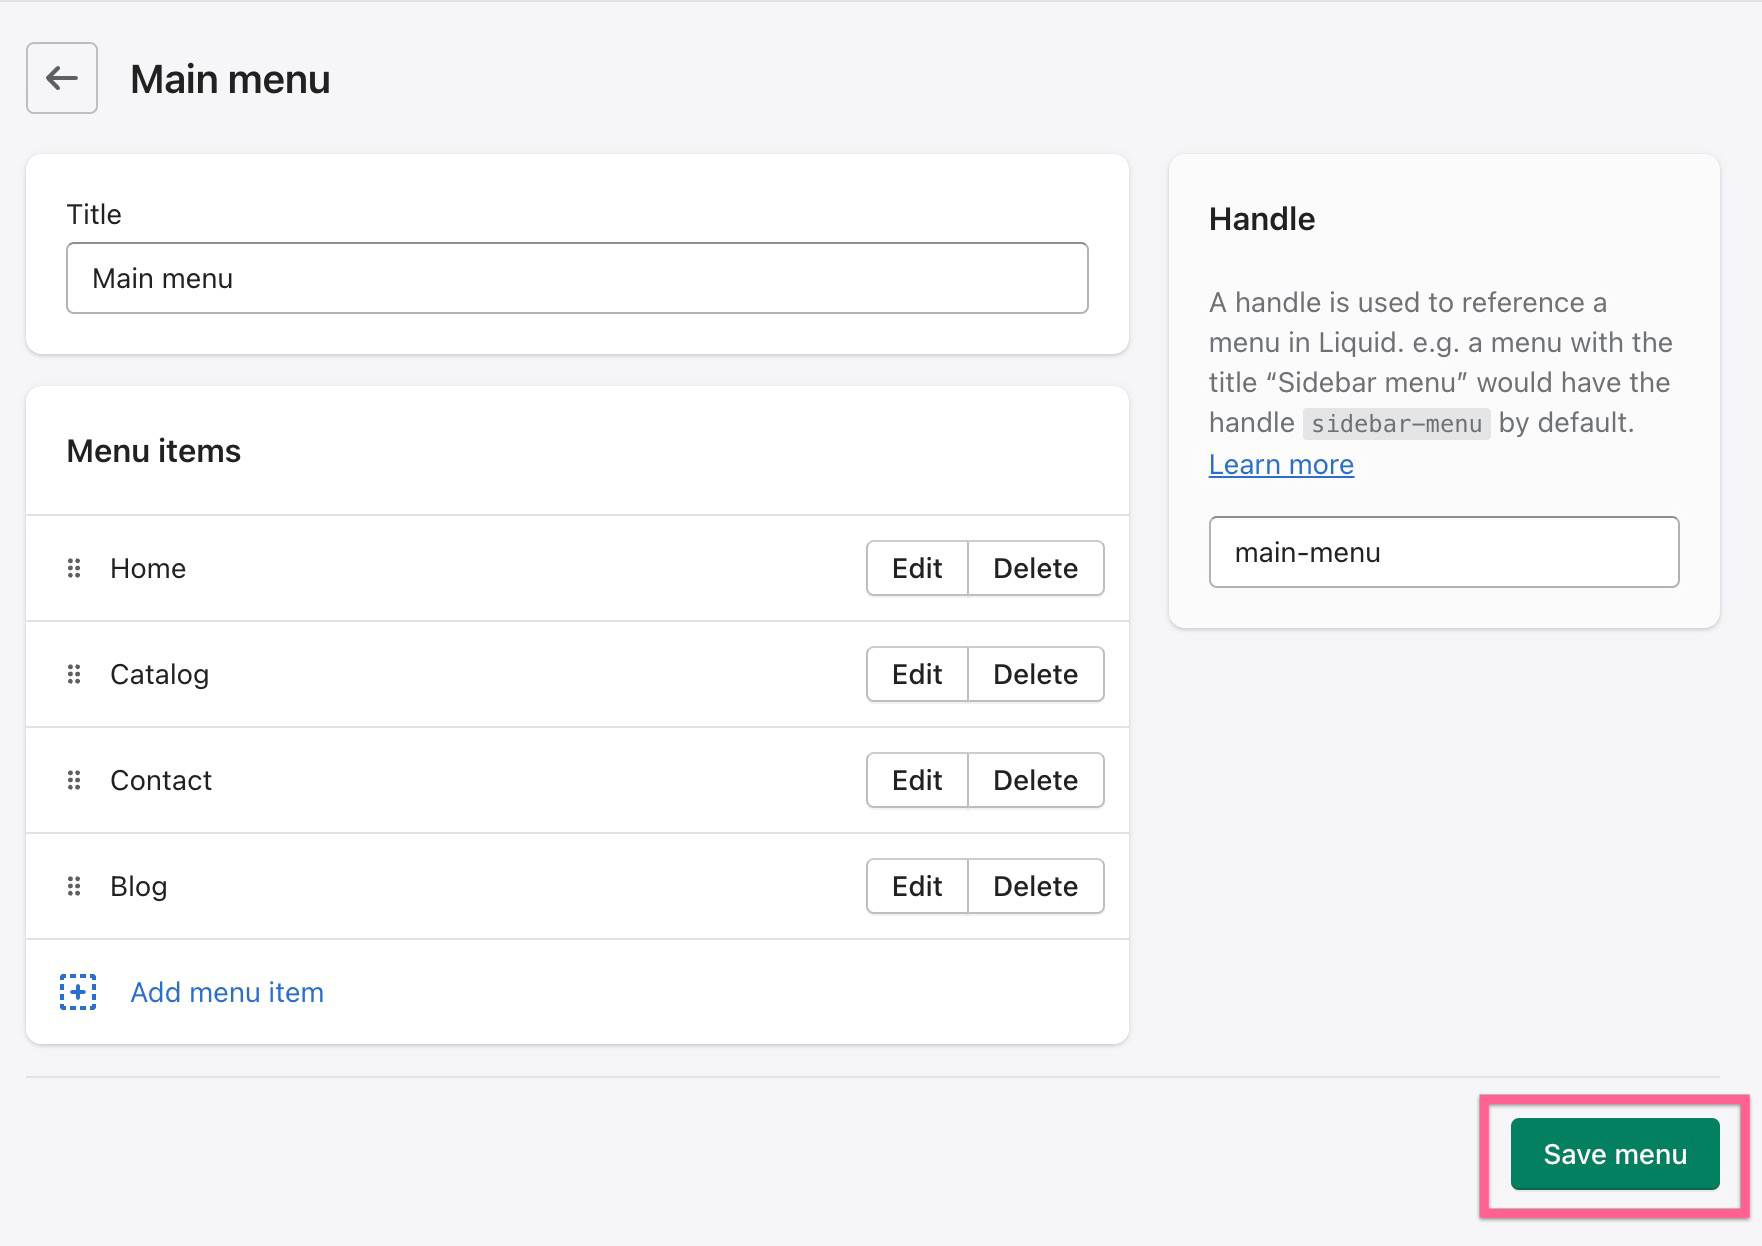
5. You should already see the Blog link in the Menu items table. Make sure to click the Save menu button to publish the changes to your Shopify store.
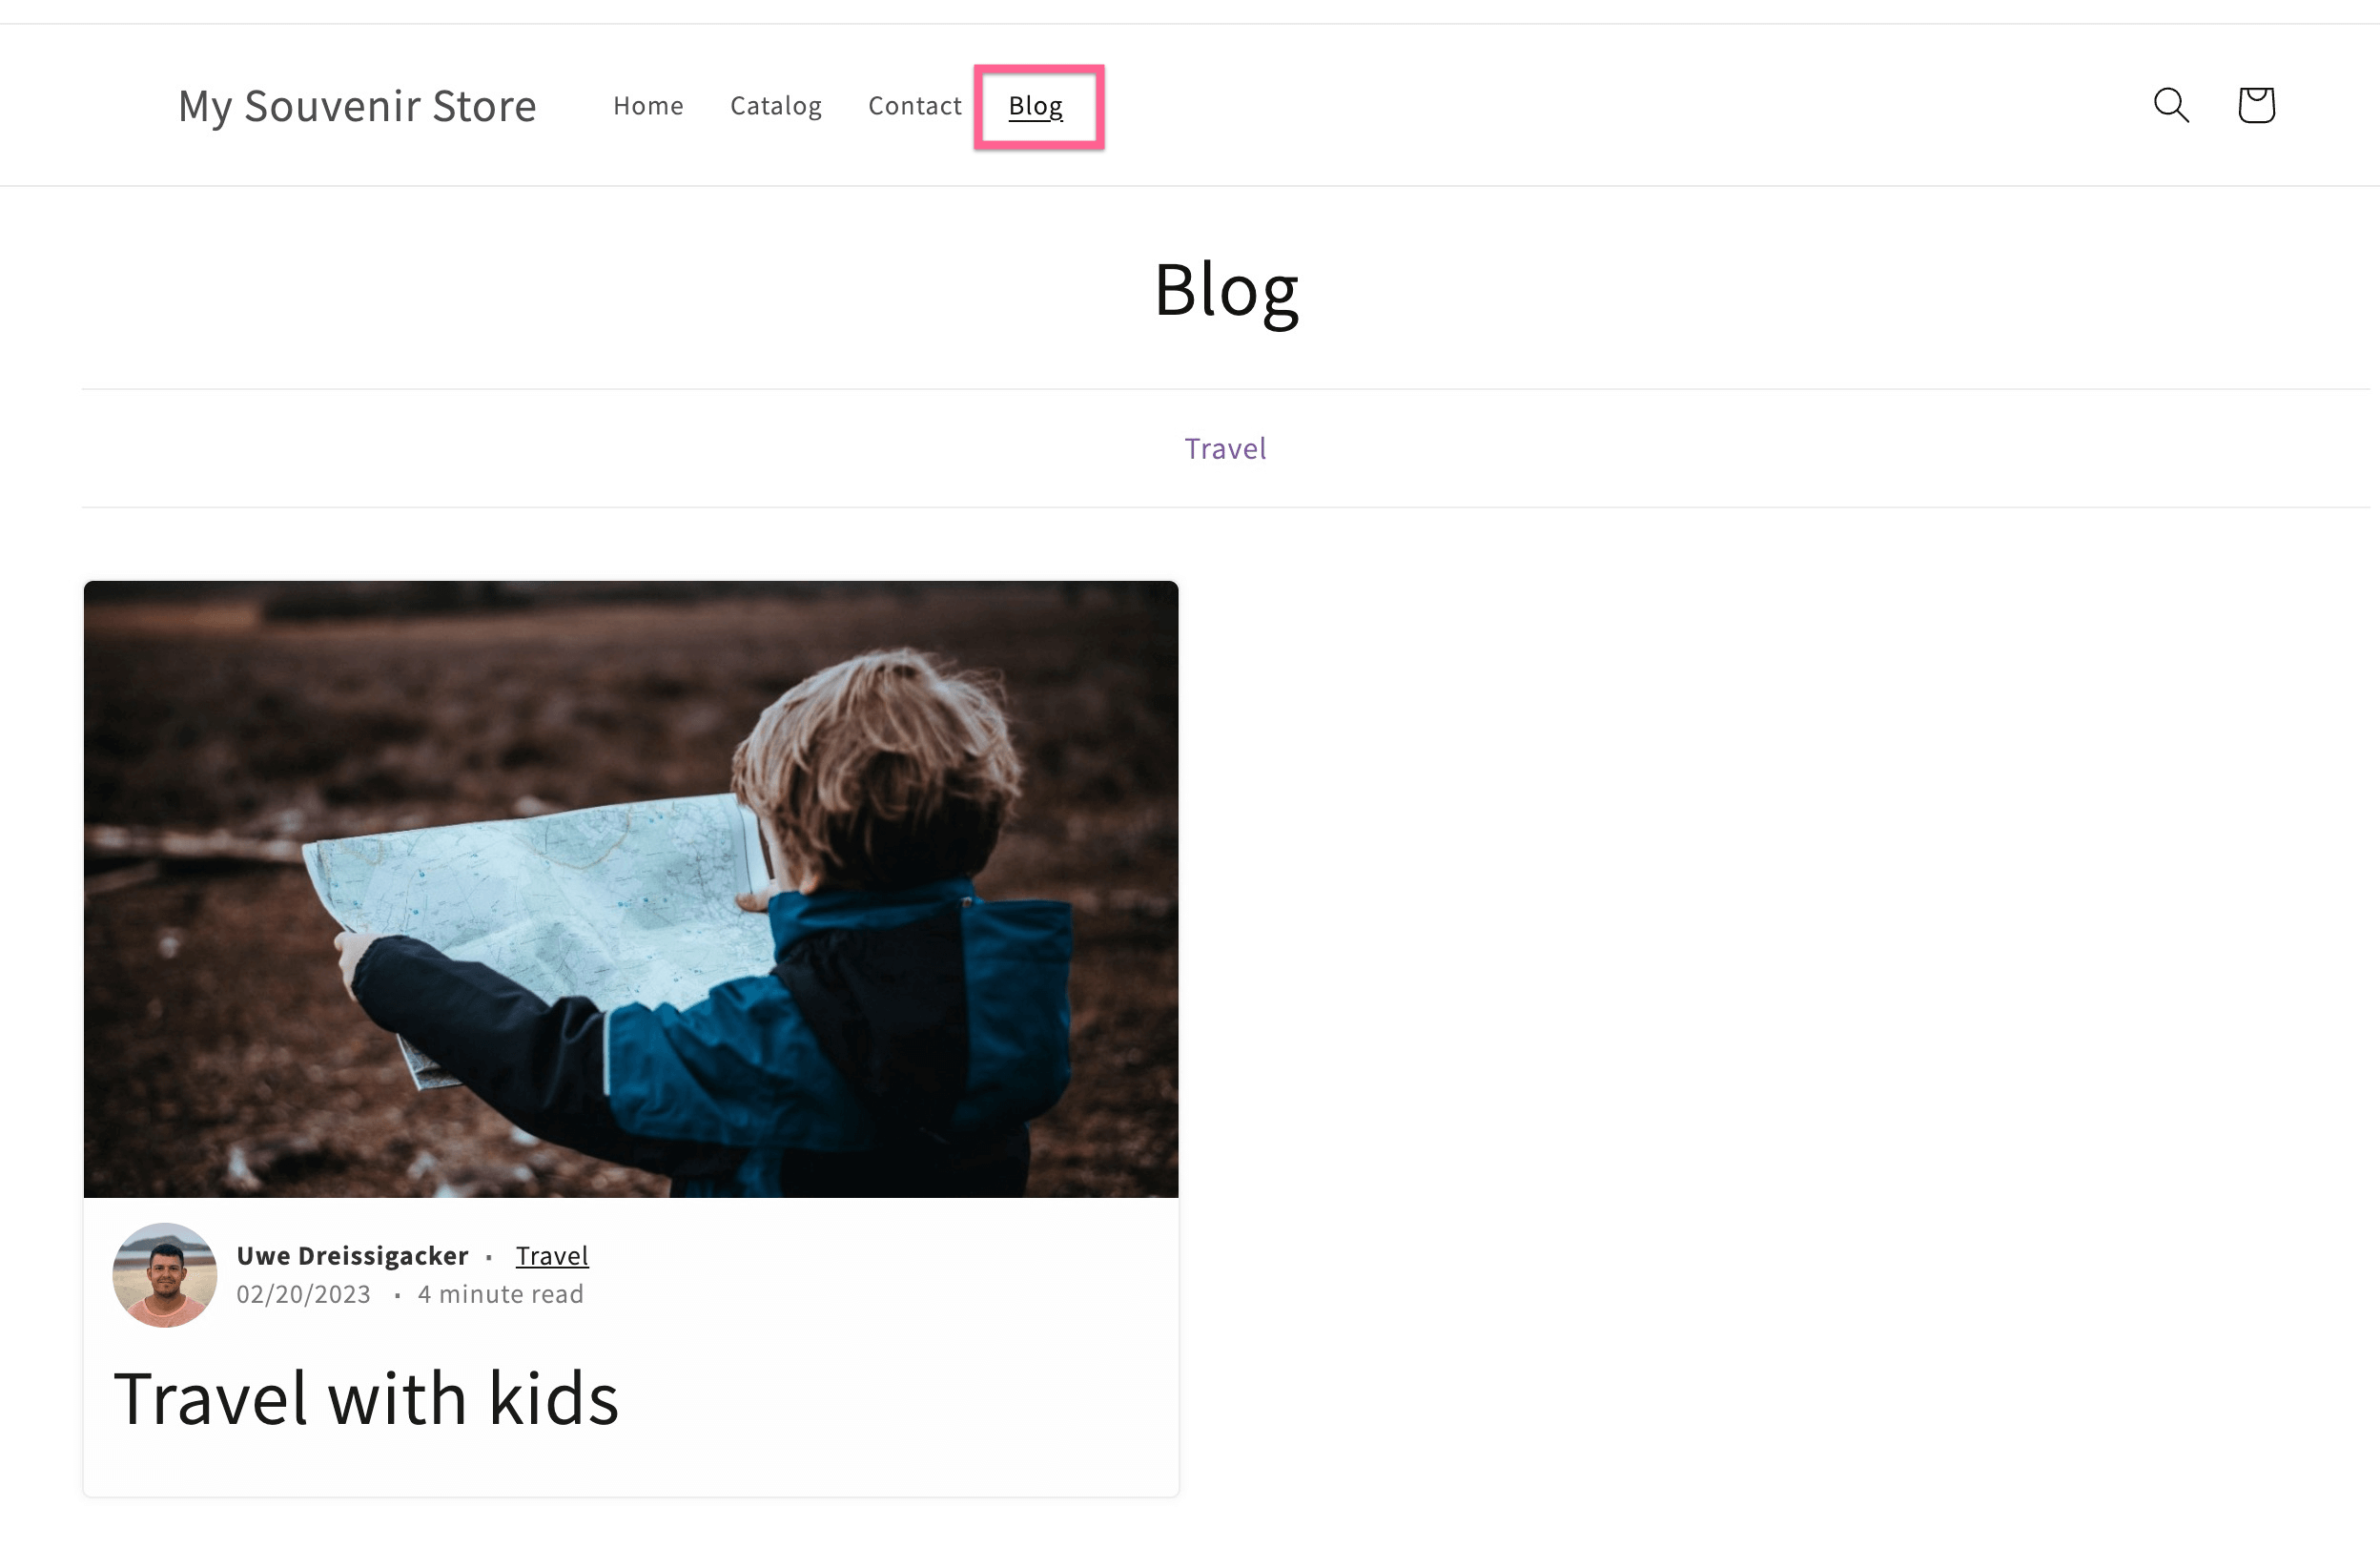
6. Below you can see the Blog link being successfully displayed on our test store's header menu:
If you want to add the link to the footer menu, repeat all steps from step 2 onward for the footer menu.