

If you integrated the BlogHandy Code Snippet or installed one of our native integrations and the blog doesn't automatically look the way you expected it to look, then there are a few things you can do.
Firstly, have a look at our list of integration tutorials to see if you correctly integrated BlogHandy into your website.
Some website builders, such as Carrd or Bubble.io, don't define certain Font and Heading styles, which results in BlogHandy using the default browser font, colours and headings. This initially doesn't look that appealing, however, it's a quick fix.
Option for developers (Custom CSS option)
If you're a developer who is comfortable with CSS coding, then you can head over to Settings -> Layout/Design and scroll to the bottom where you will find the Custom CSS section.
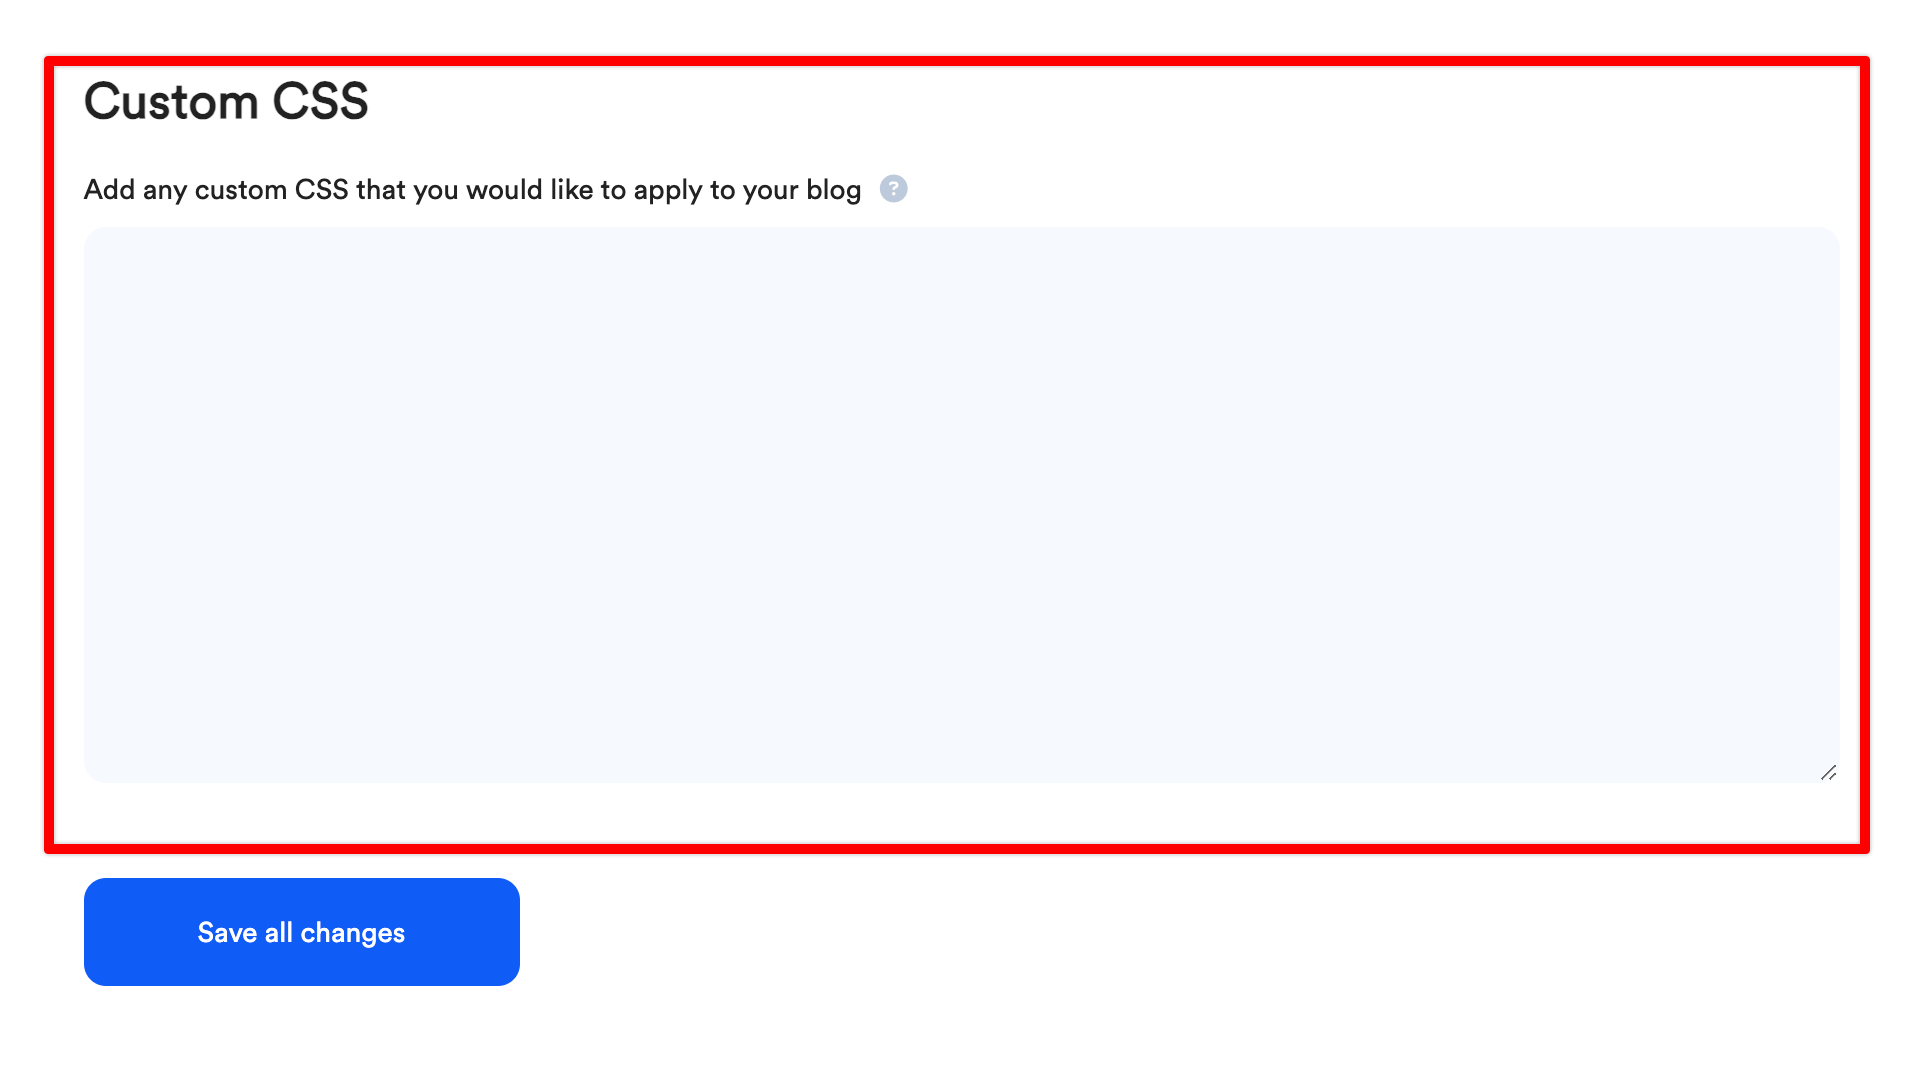
In this section, you can add your custom CSS code. Simply add any CSS code that you'd like to load on your blog page. The main element of the blog is #bh-posts
In order to change the font and color of the main blog areas, you can for example write:
#bh-posts {
color:red;
font-family: 'Open Sans';
}
To change the size of all H1 headings of your blog, you can write:
#bh-posts h1 {font-size:45px;}
If you need any help with this, please reach out to our support and we assist you.
Option for non-developers
If you are not comfortable with CSS code, simply reach out to our support with the link to your live blog page, and we will adjust the design for you according to your wishes within 24 - 72 hours.