

Connecting your BlogHandy account with Cloudflare is a simple process that only takes a few minutes and helps with optimizing your blog and SEO.
The main advantages of connecting BlogHandy with Cloudflare:
- Clean URLs – instead of having blog post links such as mywebsite.com/blog/?post=blog-post, you now will have blog post links such as mywebsite.com/blog/blog-post
- Improved social media sharing – the sharing of your blog posts on social media networks such as Facebook, LinkedIn and Twitter/X will improve as their crawlers will correctly catch your featured images and blog post titles
- Faster blog – the blog will be loaded even faster and fully statically
To use our Cloudflare integration you need to use Cloudflare for your domain's DNS management. If you don't yet use Cloudflare for your domain/DNS, then first set this up. It is completely for free. You can sign up here.
Steps to get started with BlogHandy and Cloudflare
1. To connect BlogHandy and Cloudflare, you need to go to your BlogHandy account under Settings > SEO > Cloudflare Clean URLs and provide us with a Cloudflare API token.
2. To get a Cloudflare API token, follow the below steps:
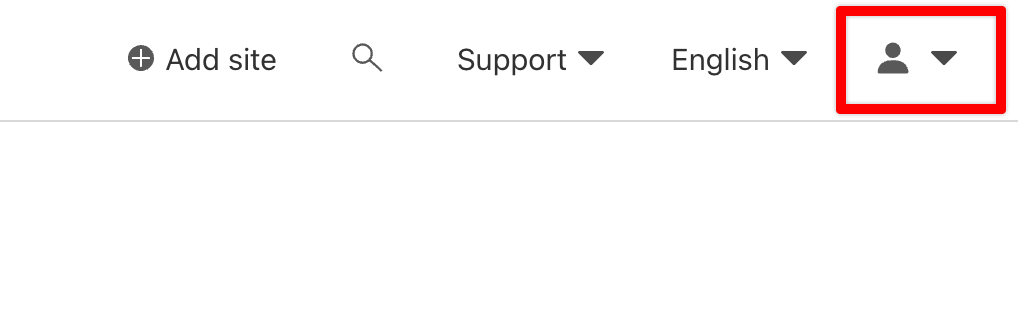
2.1 Log into your Cloudflare account and click on the profile icon in the top-right corner
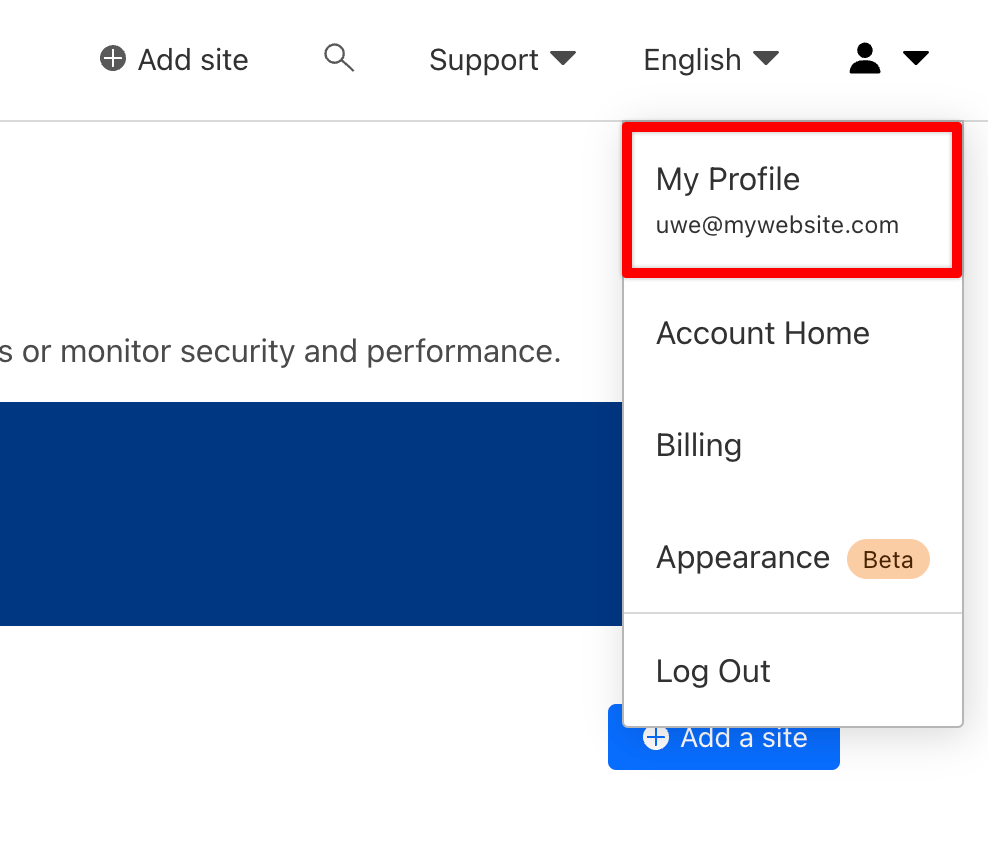
2.2 Click on My Profile
2.3 Click on API Tokens on the left-hand side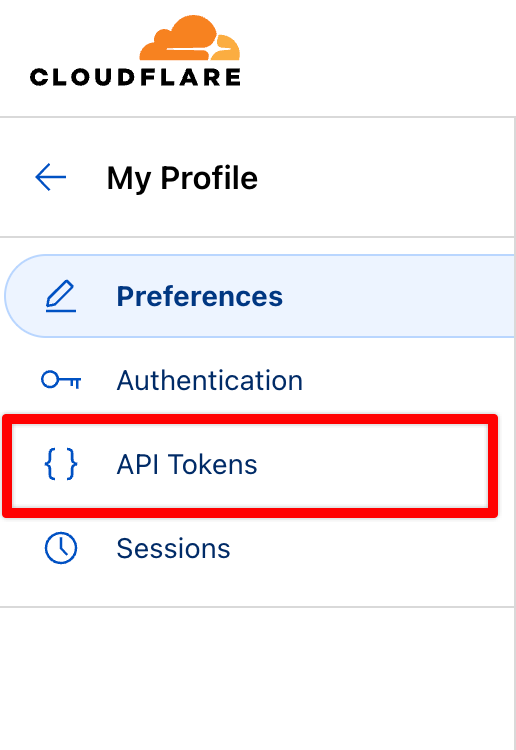
2.4 On the User API Tokens page click on Create Token

2.5 Under API token templates look for the Edit Cloudflare Workers template and click on Use template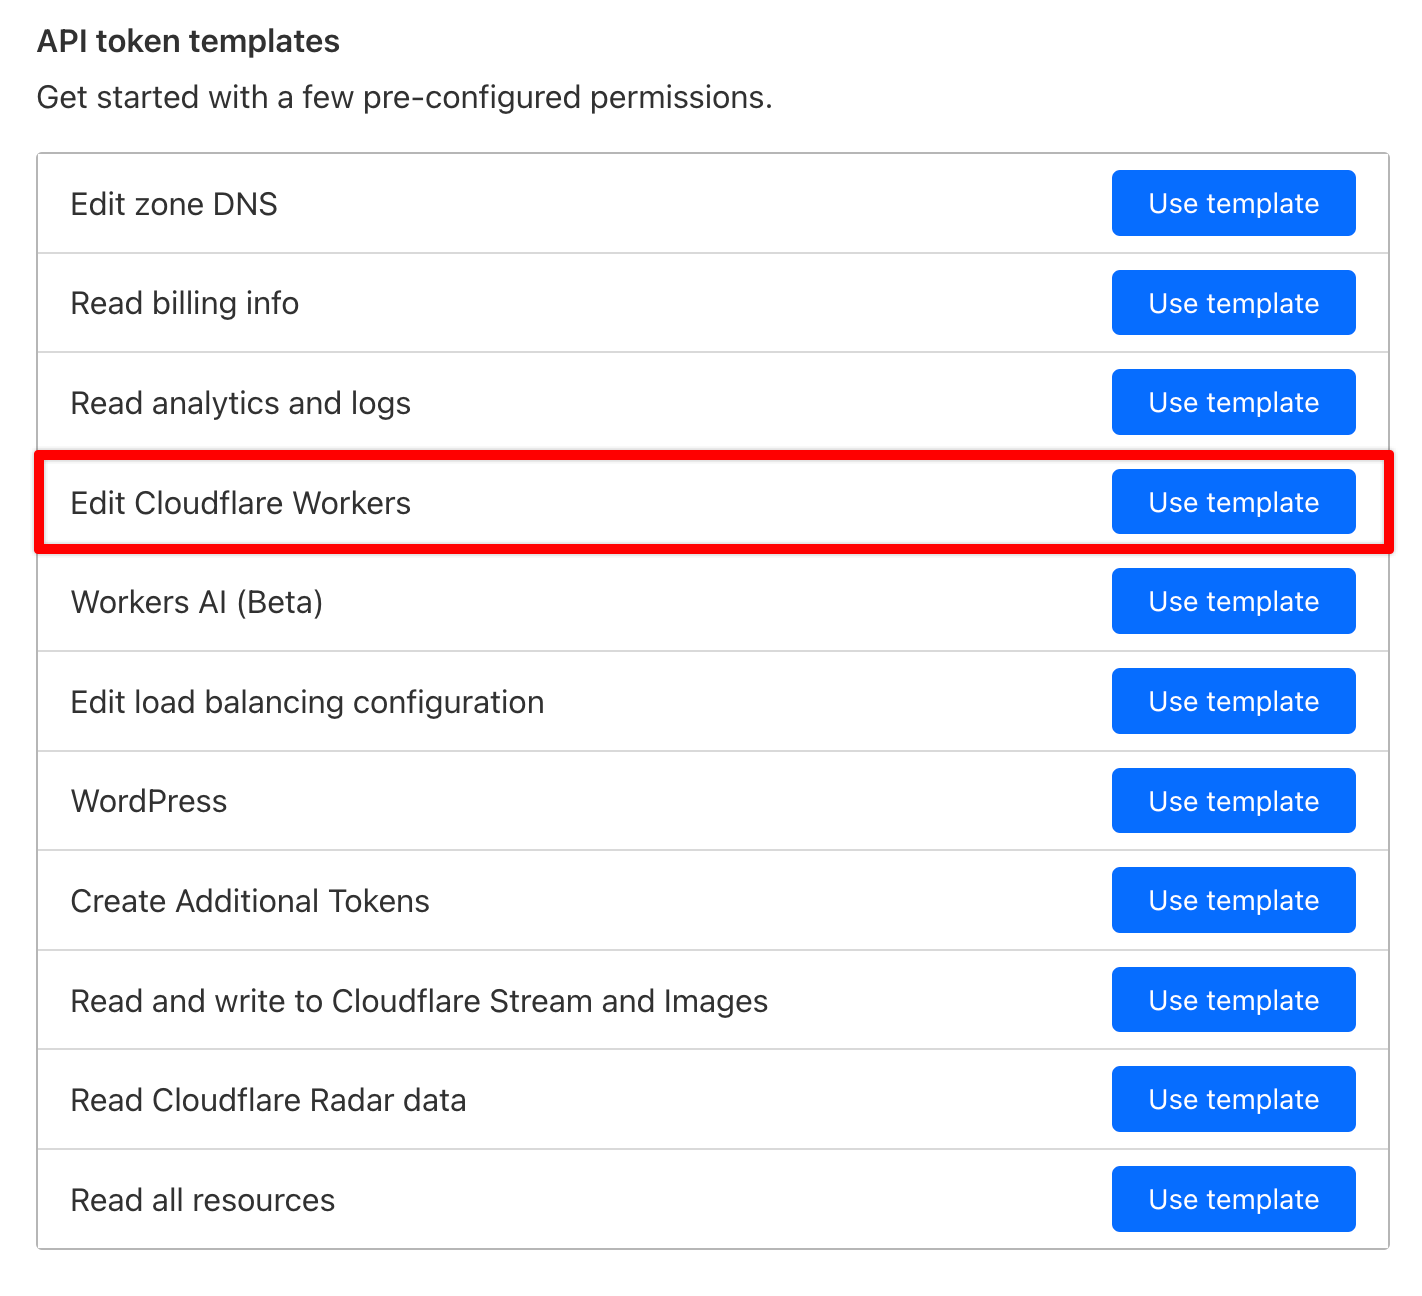
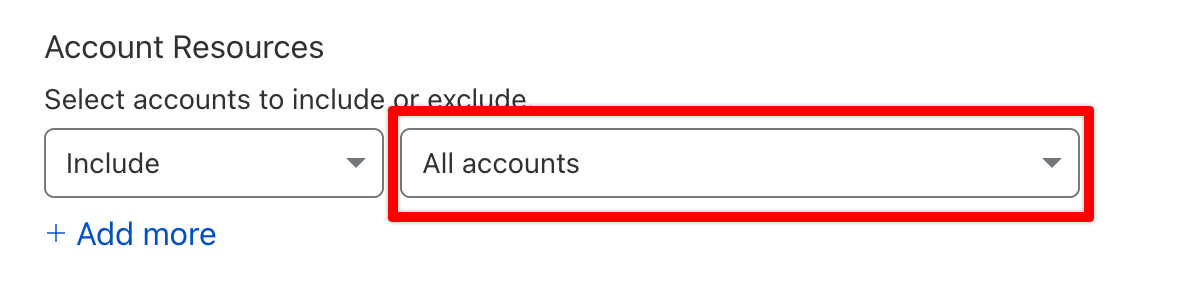
2.6 On the next page under Account Resources select All accounts (or at least the account that you want to connect with Bloghandy) in the pull-down menu
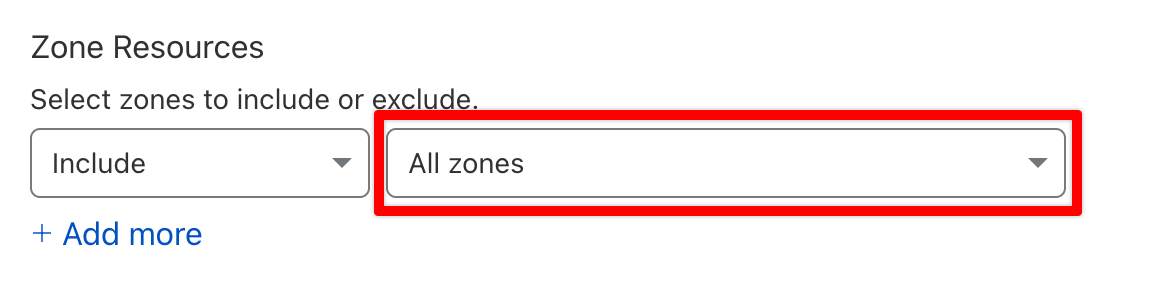
2.7 On the same page, under Zone Resources, select All zones (or at least the zone that you want to connect with BlogHandy)
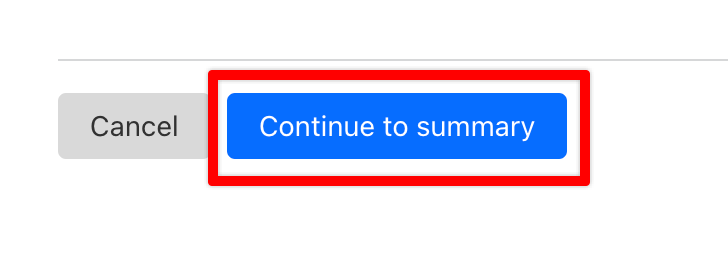
2.8 Click on the Continue to summary button
2.9 Review everything on the next page and click the Create Token button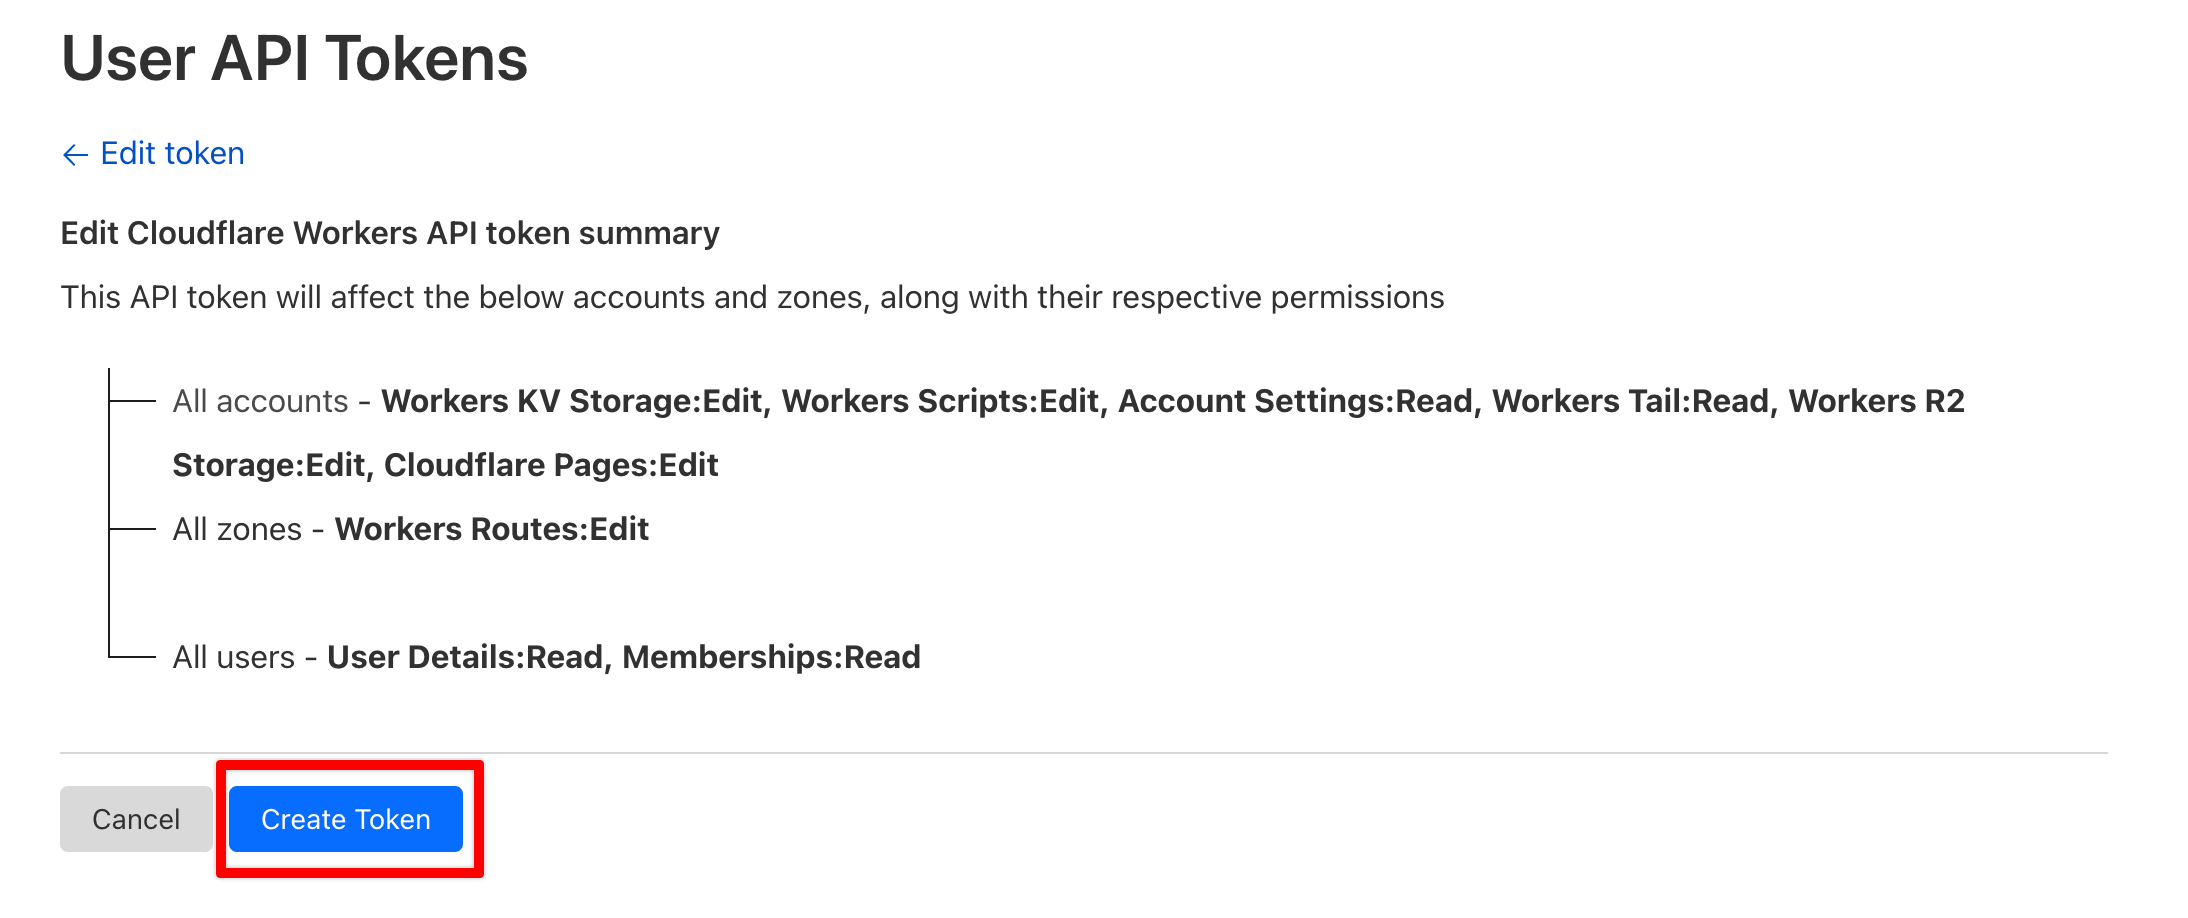
2.10 Well done! 🎉 You've now got a Cloudflare API token that you can use for BlogHandy. On the confirmation page, make sure to copy the API token.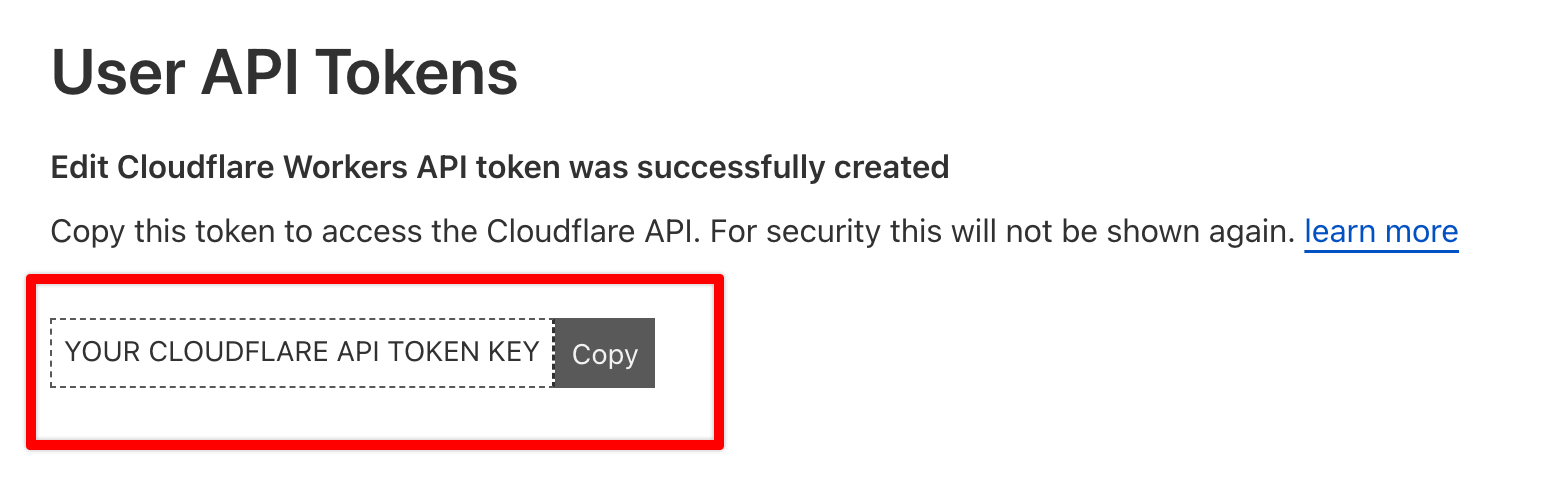
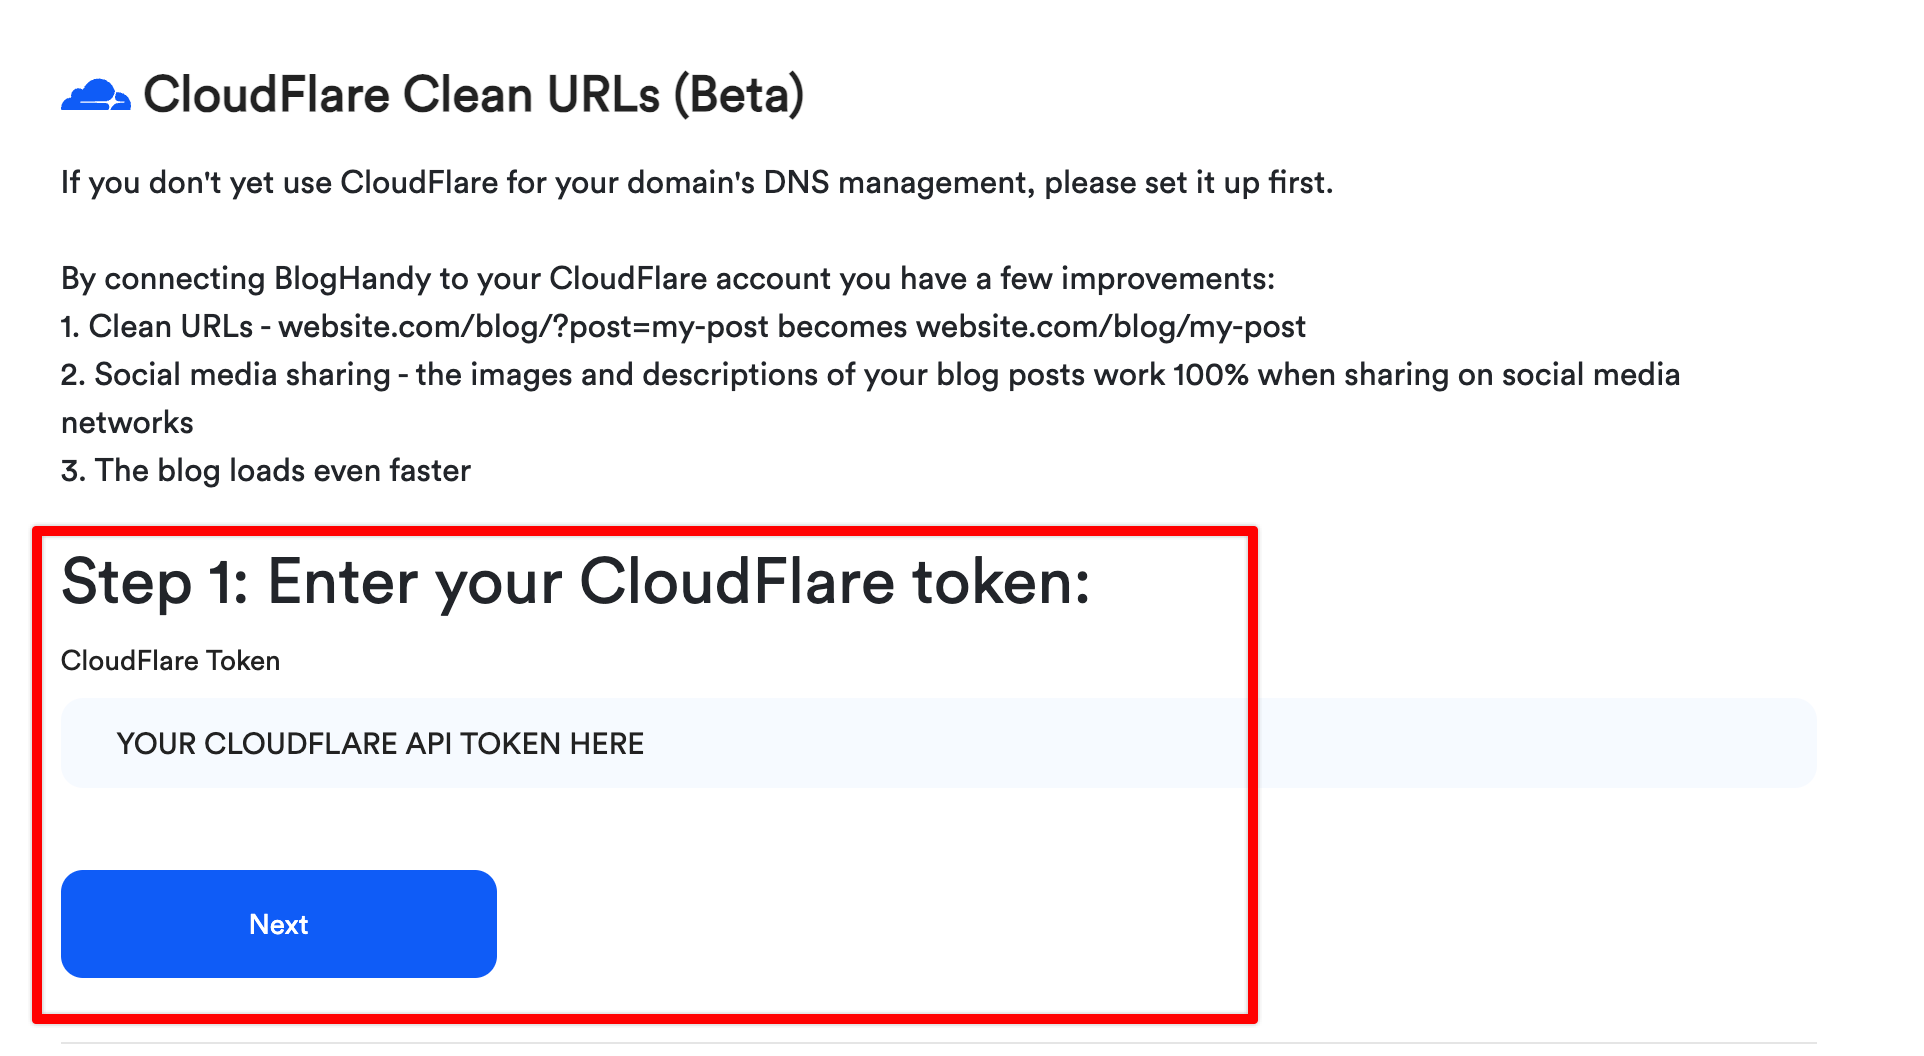
3. In your BlogHandy account, go to Settings > SEO > Cloudflare Clean URLs and enter the Cloudflare API token and click on Next:
4. In Step 2, select your Cloudflare account and click on Next: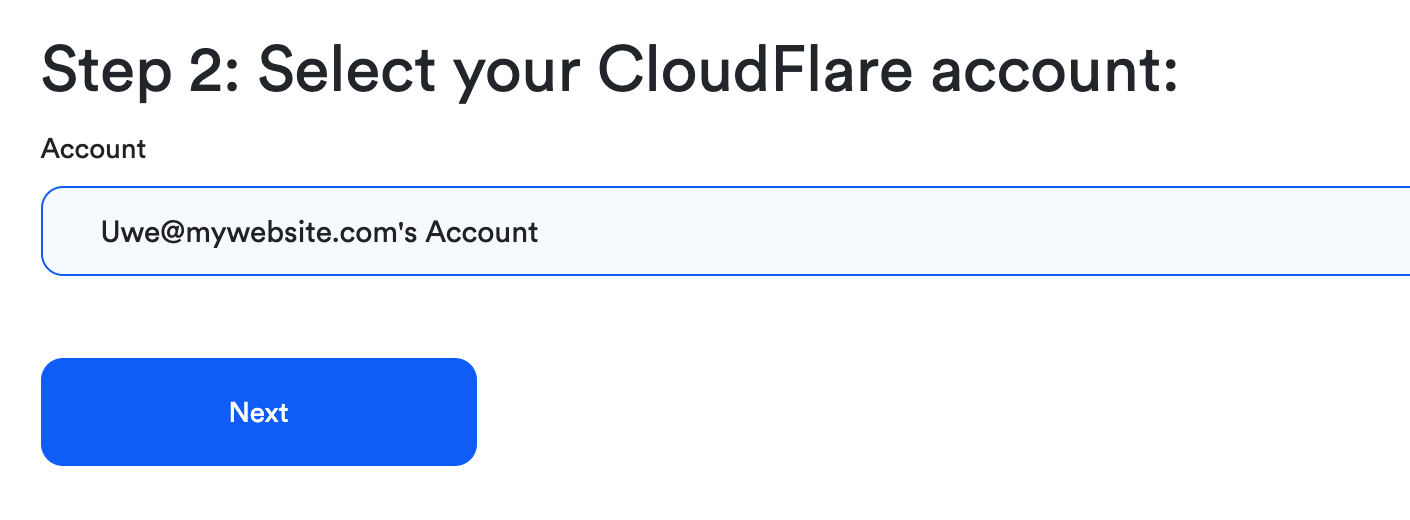
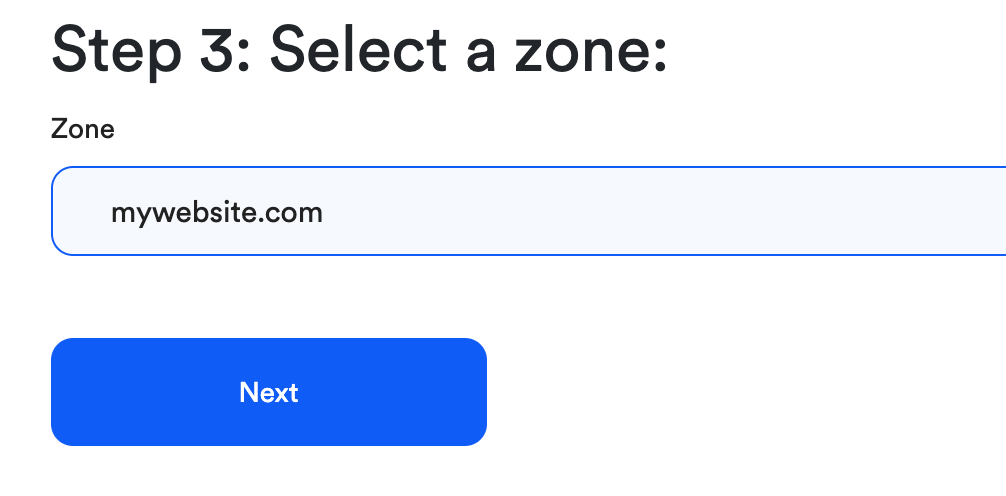
5. In Step 3, select your Cloudflare zone and click on Next:
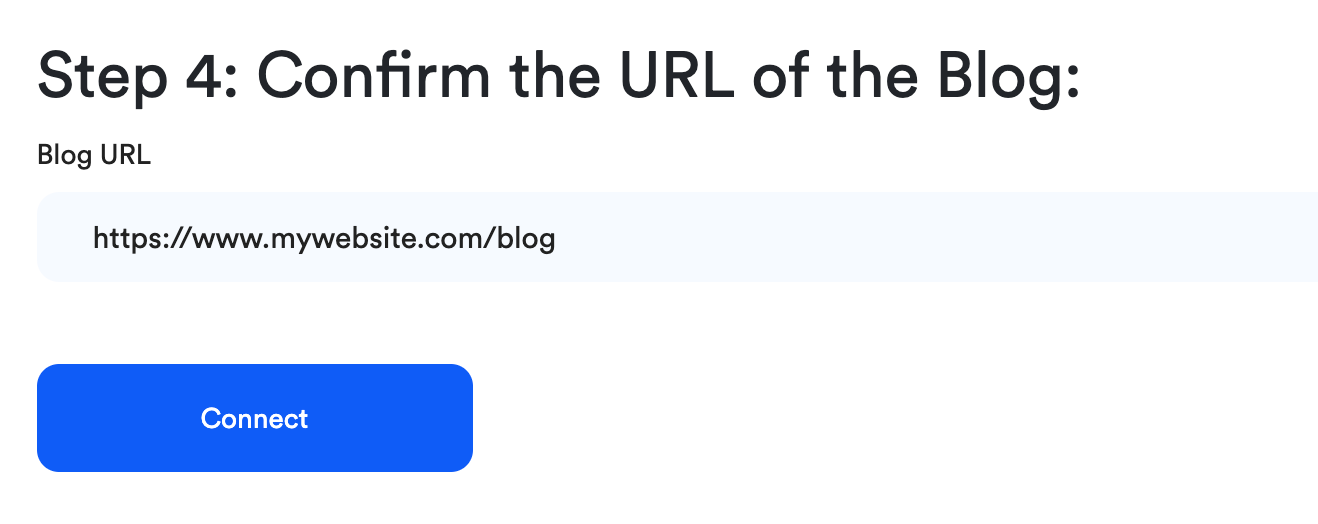
6. In Step 4, double-check that your Blog URL is 100% correct and adjust if necessary:
Done! 🎉 Your BlogHandy and Cloudflare accounts are now connected, and your blog's URL structure has changed.
If you run into any problems or have questions regarding our Cloudflare integration, please reach out via the support bubble on the right-bottom corner of your BlogHandy account.