

BlogHandy comes with some pre-designed blog layouts/designs that you can find by going to Settings and Layout/Design.
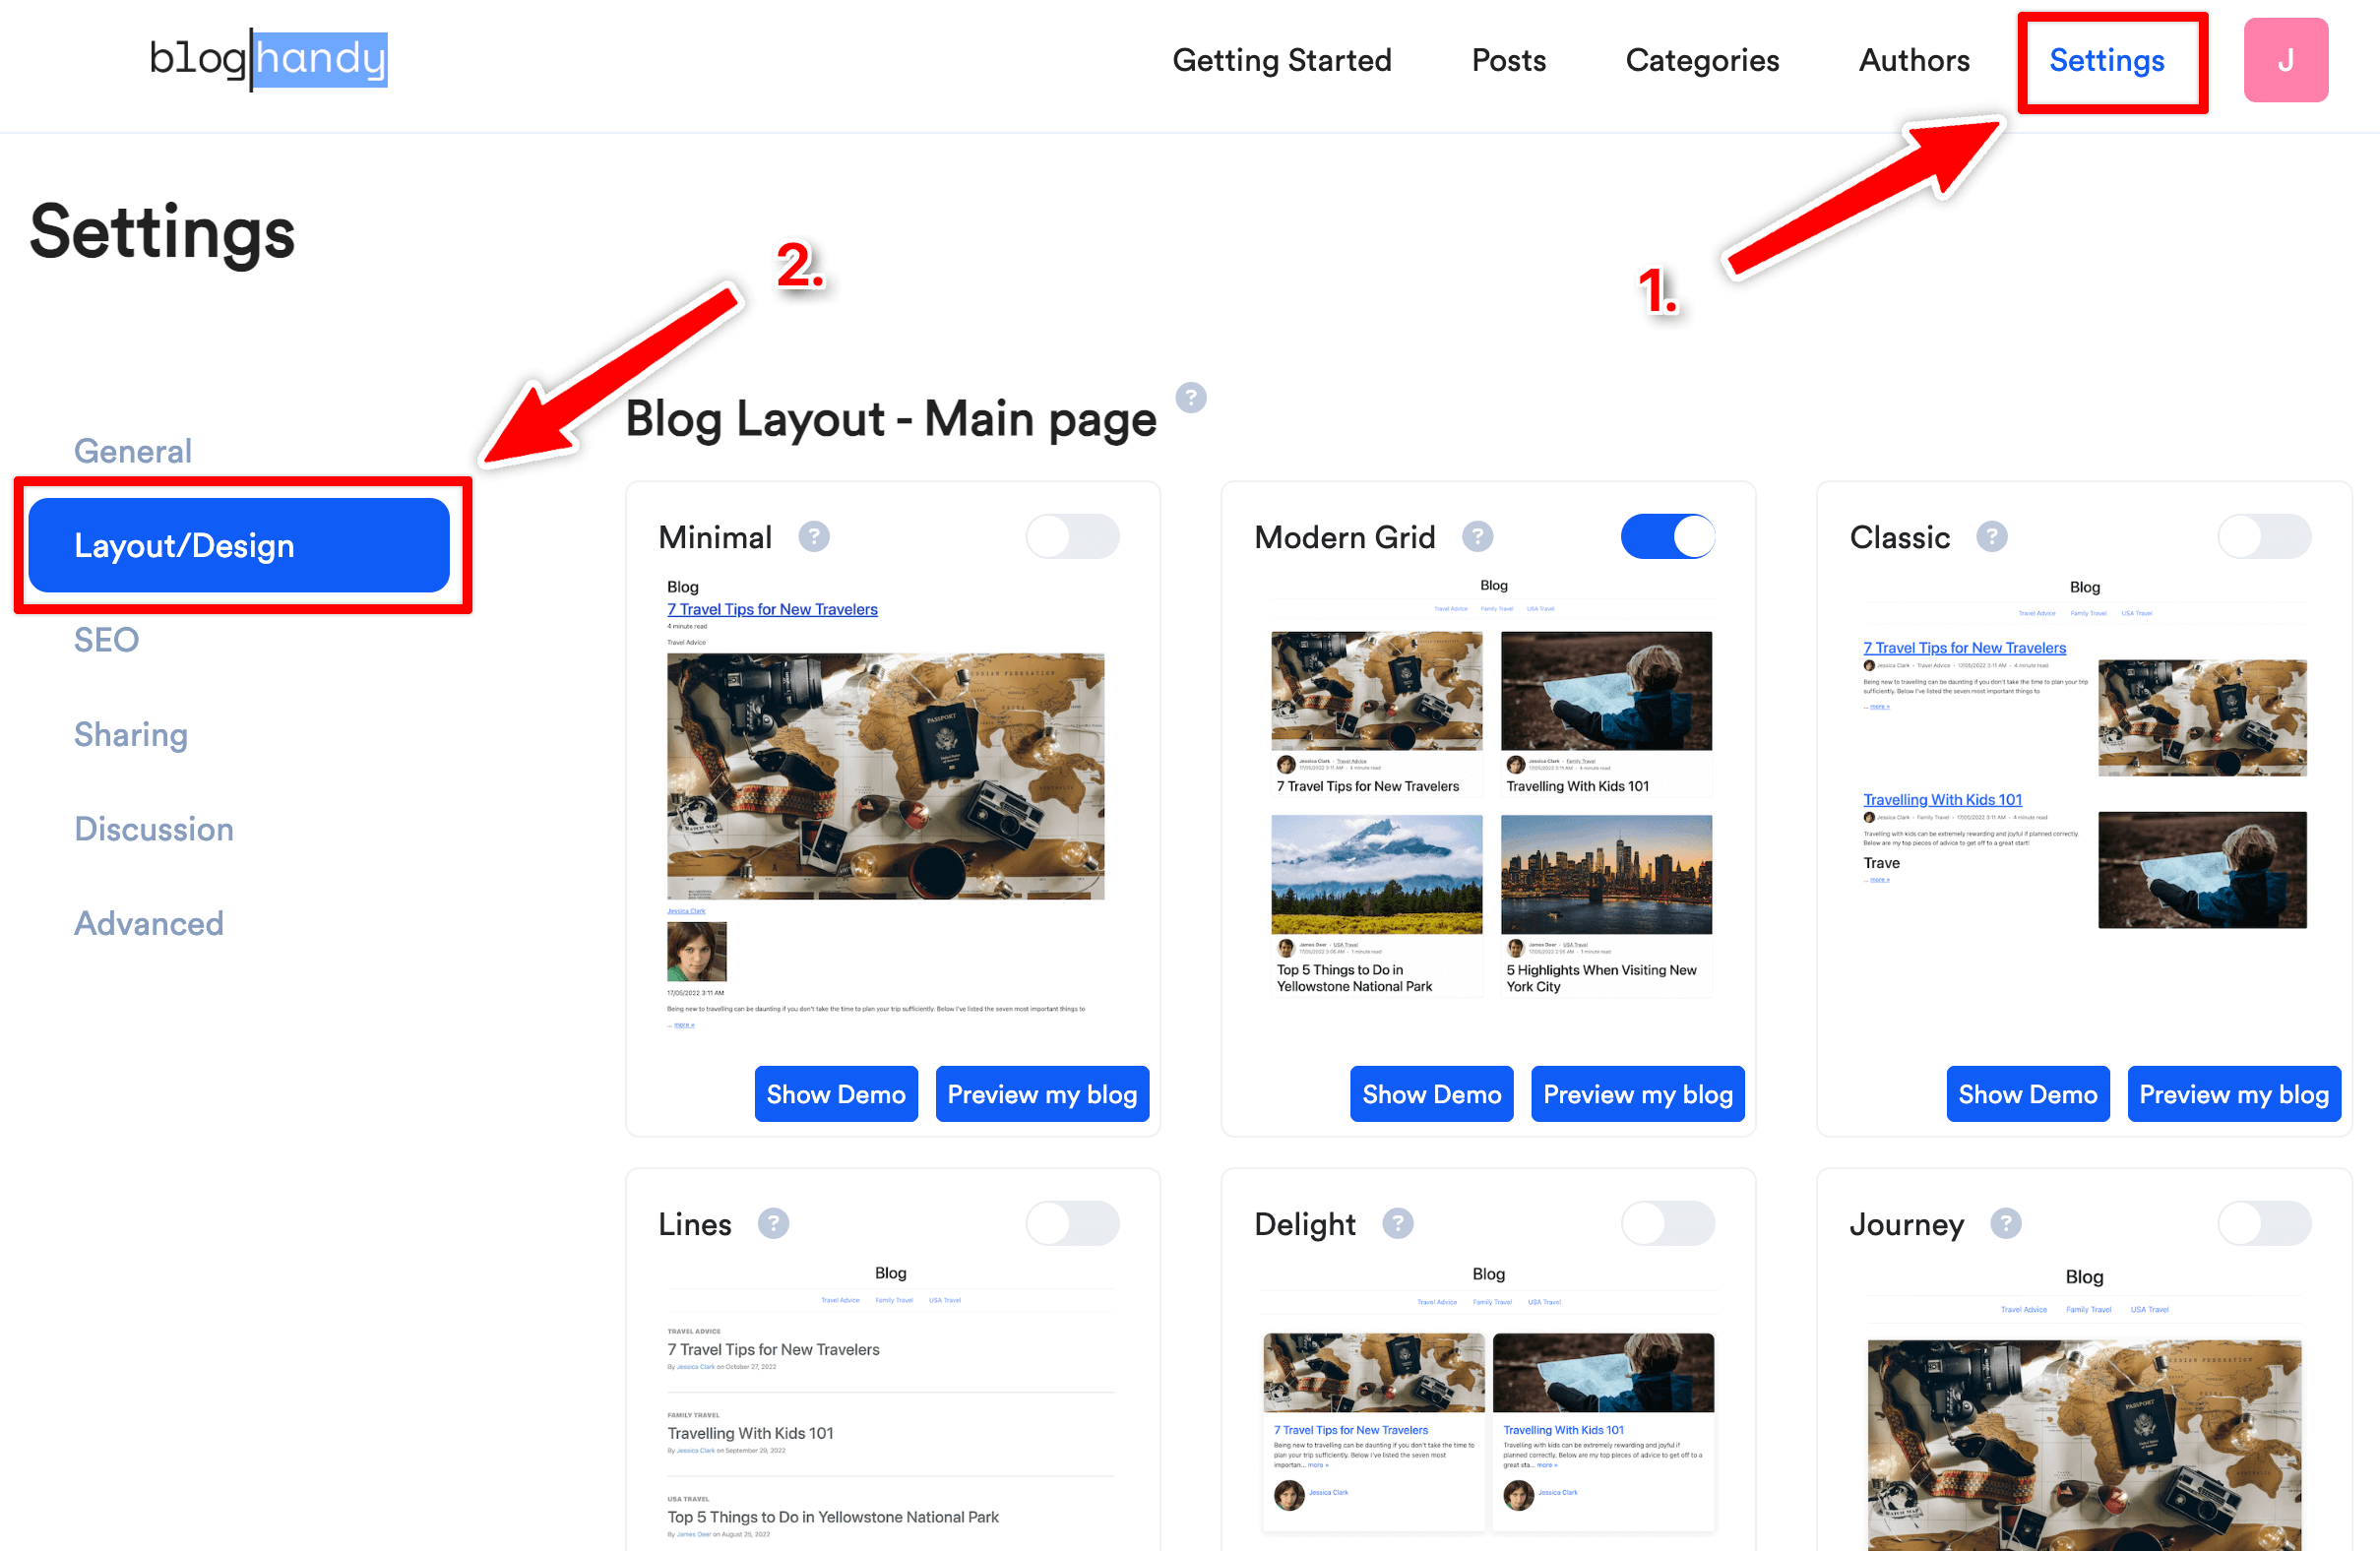
You can switch between the different designs by clicking on the switch/toggle. This will instantly change the blog design on your live blog page.
If you want to further customize your blog, you can go to the bottom of the same page to find the Custom CSS section.
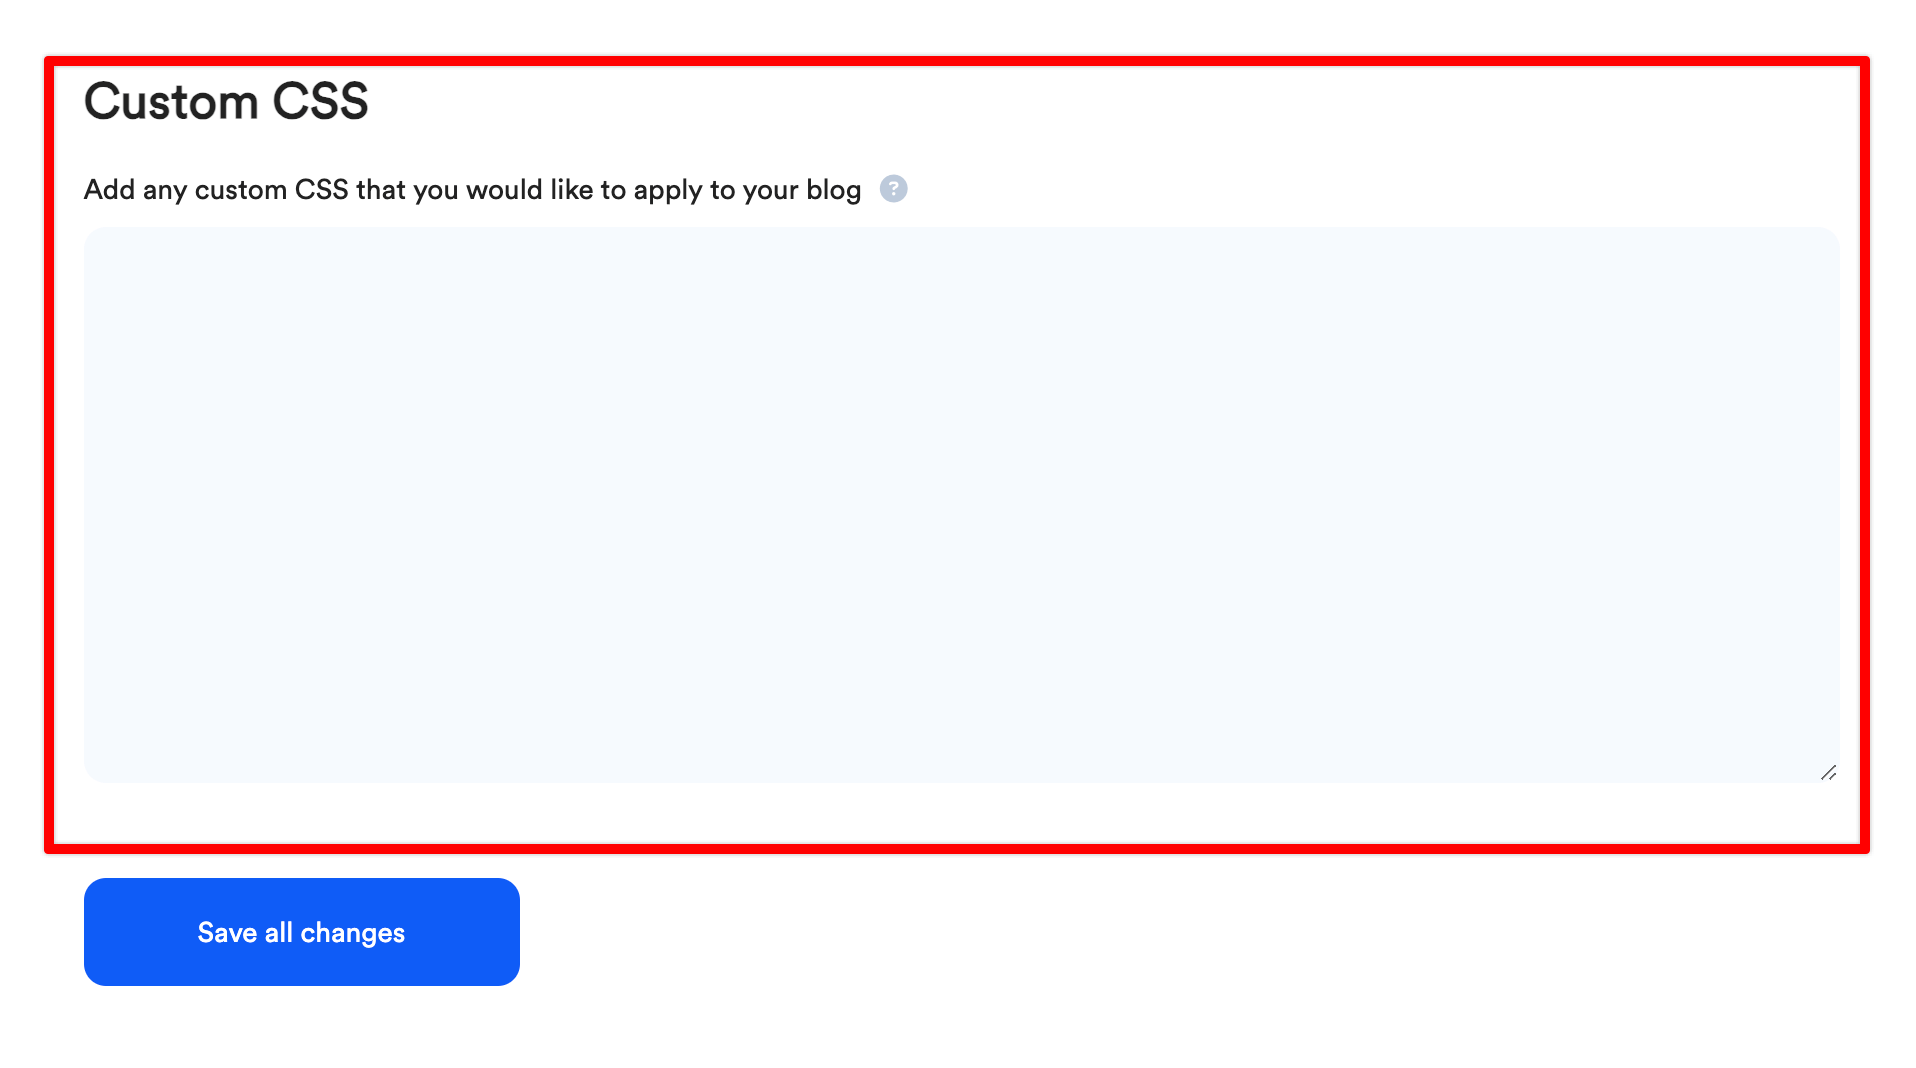
There, you can add any CSS code that you'd like to add to your blog to change the design even further.
The main element of the blog is called #bh-posts, so you need to add it every time you want to make a change to any part of the blog area.
For example, to make all Heading 1's (H1) in red with a font size of 45 pixels, you would add the following code:
#bh-posts h1{ font-size: 45px; color:red;}
You can inspect your live blog to find all other class names of important elements of your blog.
If you don't want to use any of the pre-designed layouts, you can choose the Minimal layout which only loads the blog content without any CSS stylings. You then can fully customize your blog in the Custom CSS section.
You can always reach out to our team with your customization requests, and we try to implement them for you within 24 - 72 hours.