

Adding a new post is very straightforward with our simple blog editor. Just follow the steps below:
1. After logging into your BlogHandy account, please head over to the Posts page.

2. Then click on the Add Post button
3. You will now see a screen similar to the one below:
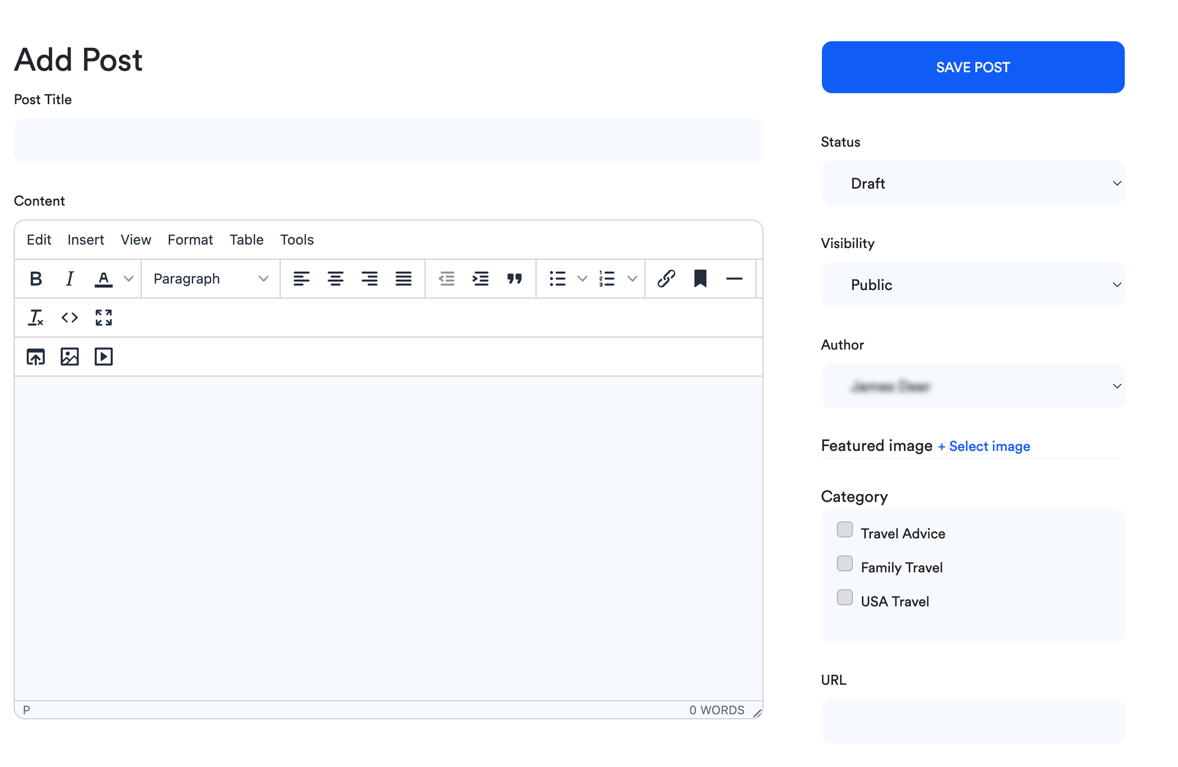
Start by filling out the fields:
- Post title (we automatically create the URL slug based on the post title, but you can always adjust it)
- URL (this is the URL for the blog post; you can adjust it if you're not happy with the automatically generated version)
- Content (here you can write and style your blog post – you can add images, links and other styling components here)
- Category (you can select a category you want your blog post to appear in)
- Featured image (you can upload a featured image for the blog post)
- Author (you can select the author of this blog post; additional authors can be added on the Authors page)
- Visibility (you can select whether the blog post is visible to the public or only for people with the direct link)
- Status (once you're happy with the blog post, you can move it from the Draft status to a Scheduled or Published status)
4. Once you're happy with the blog post, have a look at the SEO Analysis that you will find below the editor on the page. It looks similar to the image below:
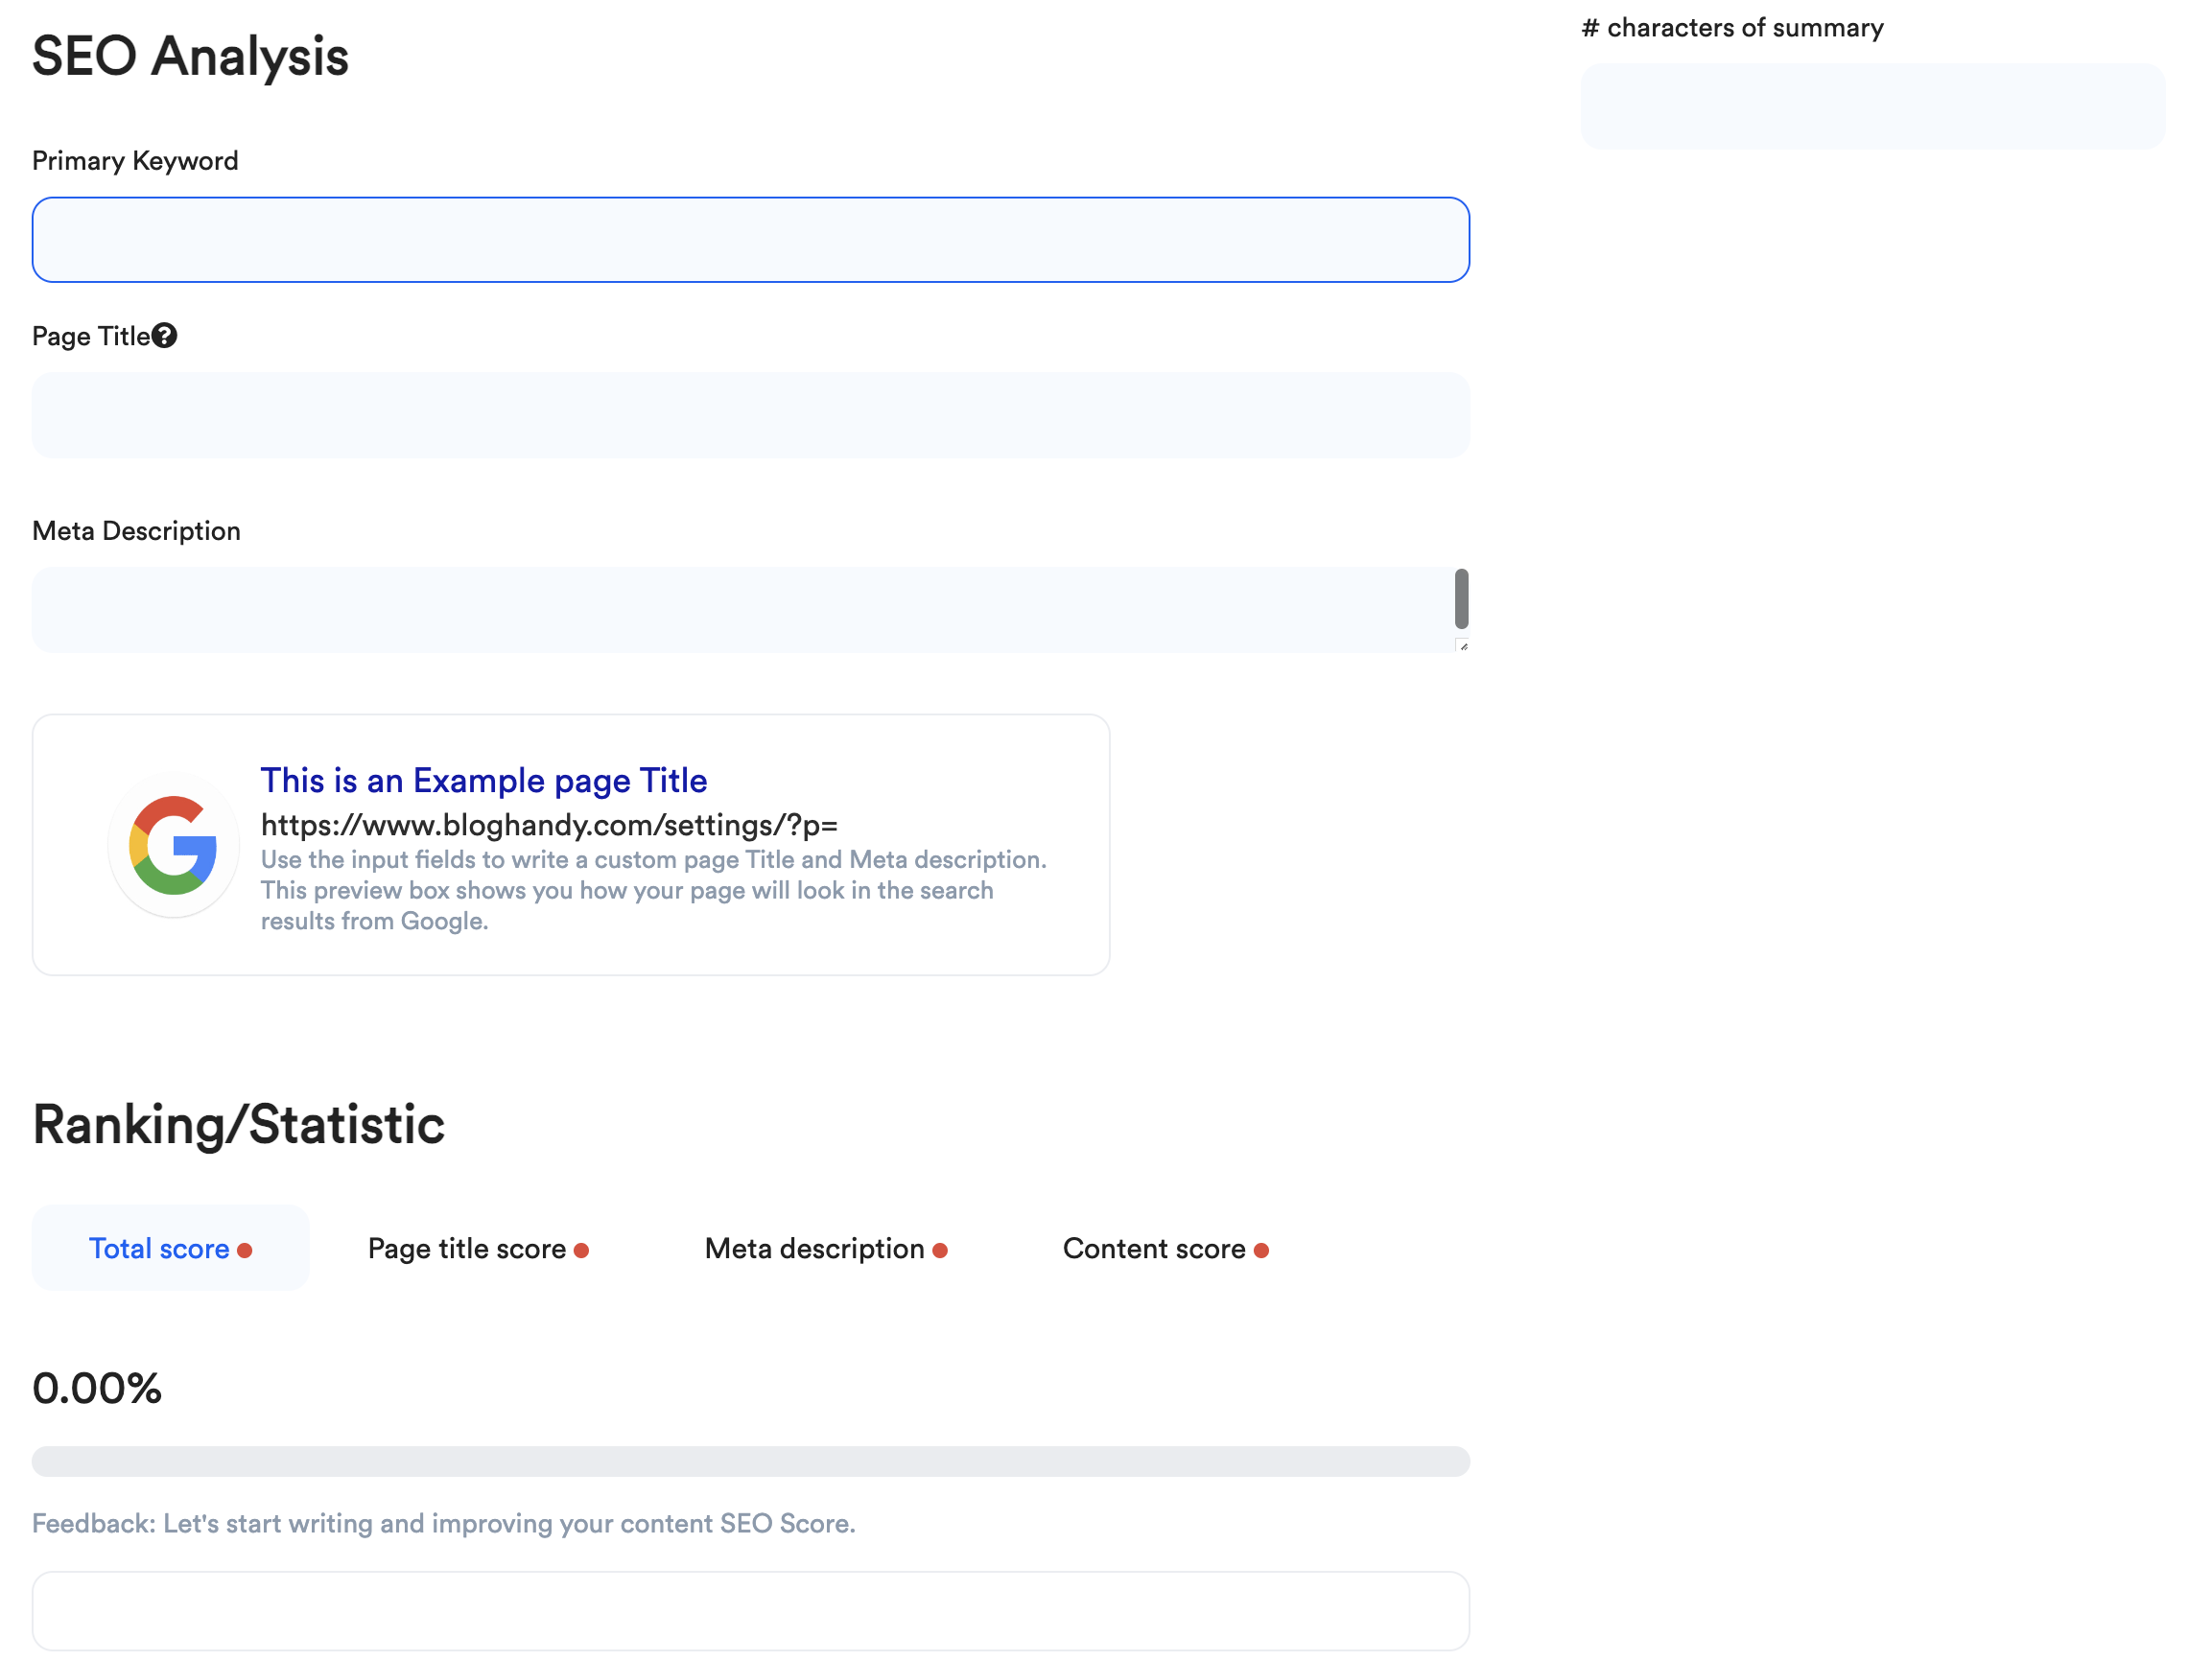
In the SEO Analysis section, you have to select a few more options:
- Primary keyword (this is the main keyword you target for this blog post)
- Page title (this is automatically generated from your Post Title but can be adjusted to any title you like)
- Meta description (this is a 160-character sum up of the blog post that helps search engines display your blog post in the search results)
5. Once you've filled out the SEO Analysis section, the Ranking/Statistic section will show you an SEO score with valuable tips on how to improve your score. This helps improve the blog post and increase the likelihood of ranking higher in the search engines.